
Update: Untangle recently released a very affordable “home” complete package. I’m going to reevaluate it, and update as necessary.
Well, like the title says. If you have a business or church that wants to have freely accessible (and filtered) wi-fi for guests, it’s not as daunting a task as you think. In fact, I can show you how to do it yourself… with stuff you probably already have laying around! You’ll need some computer skills, but nothing fancy. If you can use a screwdriver and know how to hook a computer up, you can probably do this yourself. Interested? Read on! Much thanks to the file people at Untangle.com who made this software package freely available for people like us!
First, we put together a list of things we’ll need.
- An old or used (preferably functional!) computer. You want something with at least 512MB of memory, a hard drive (10GB or more is fine) and a CD-Rom for installing the OS.
- Wi-Fi access point (you may be able to use an old router if it supports AP mode)
- Small network switch (only needs to be 4 ports, but use what you can find)
- Some Cat5 ethernet cables
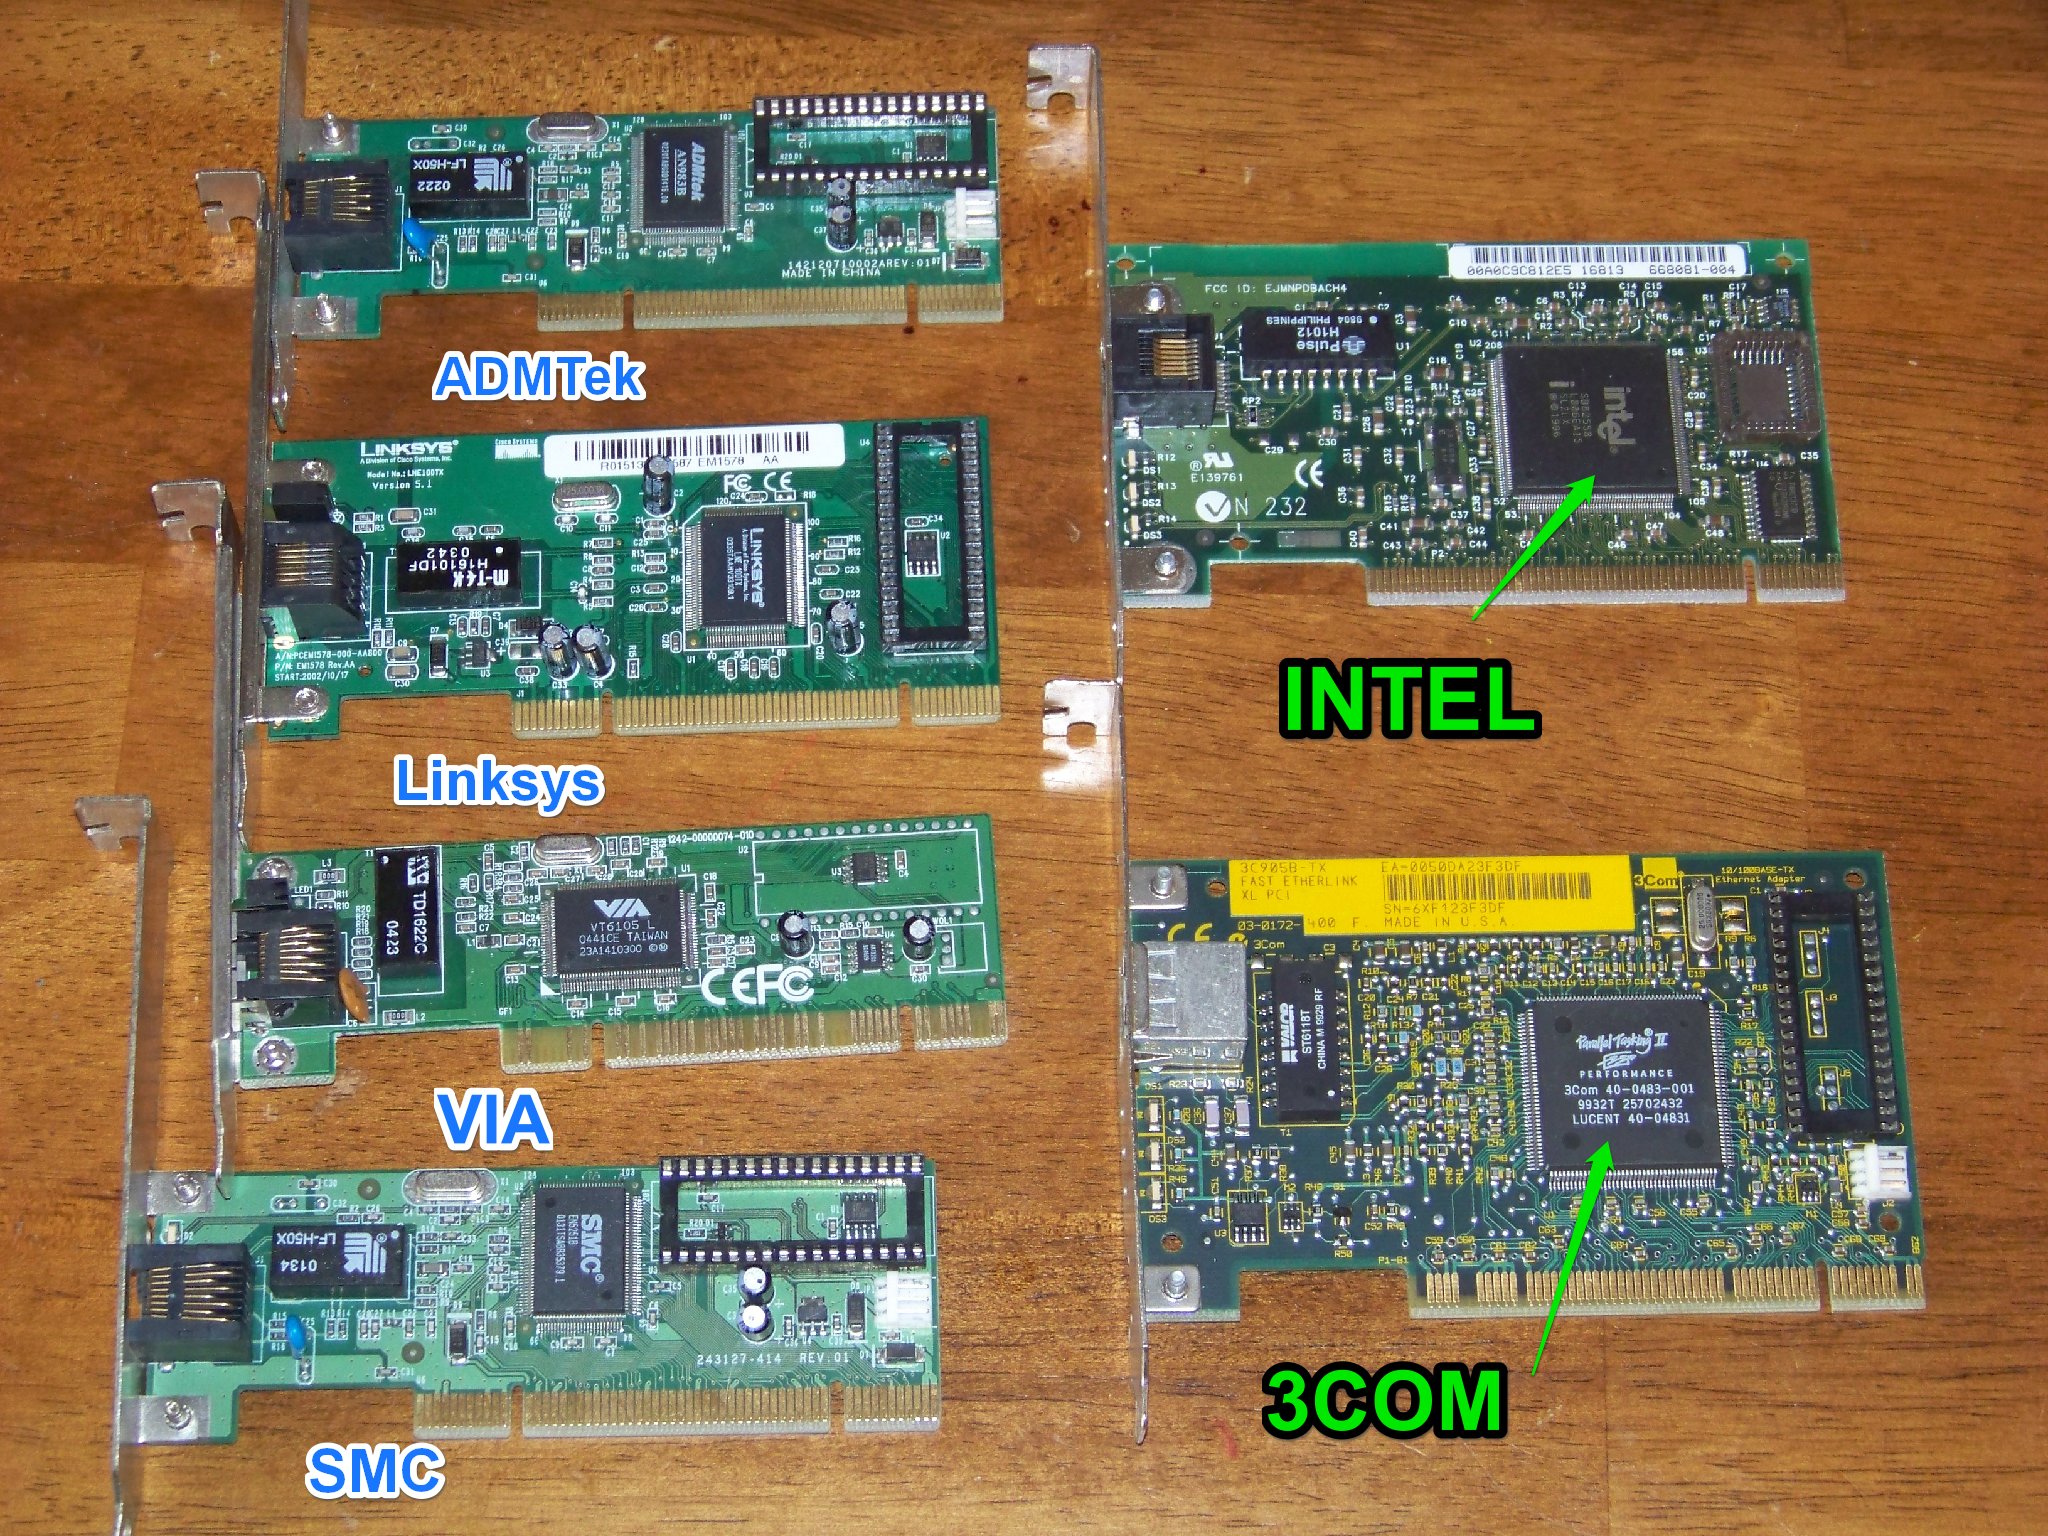
- Two PCI ethernet cards (preferrably Intel or 3Com, but use what you can find)
- A blank CD-R (or a 1GB thumb drive)
- Another computer with a CD burner
- Someplace to set the computer up and work on it (keyboard, monitor, mouse, etc.)
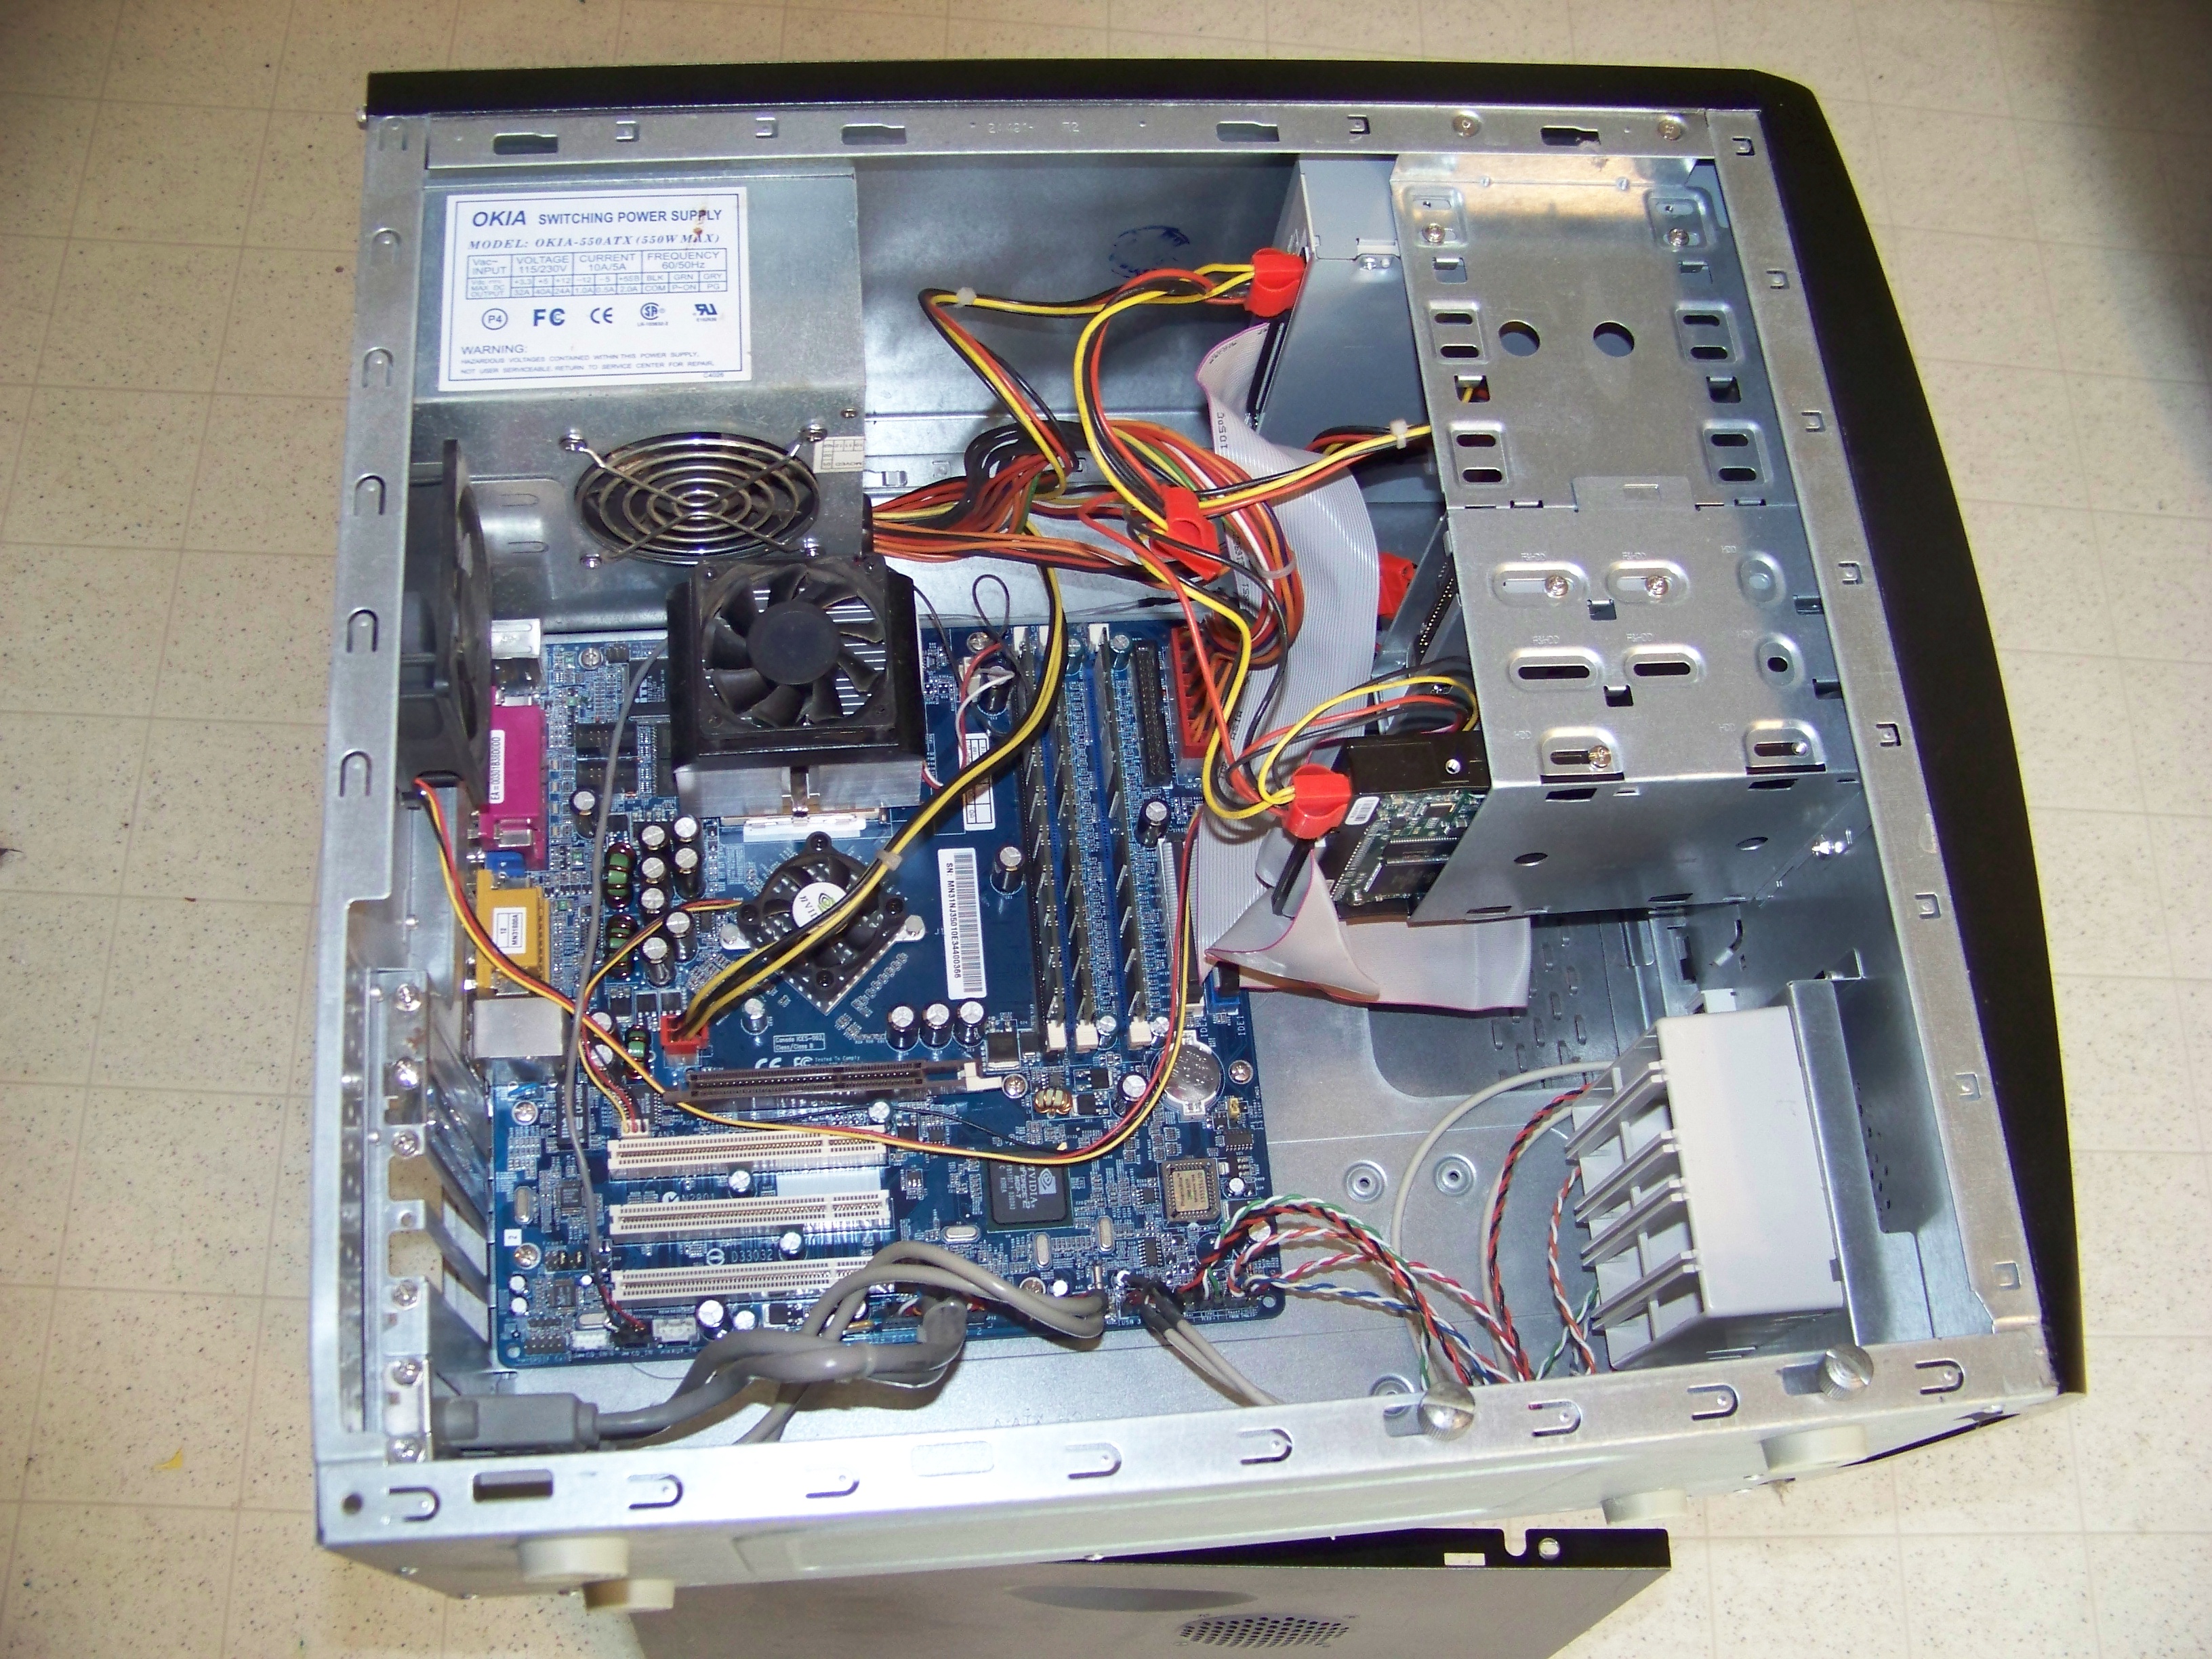
Once you’ve assembled your stuff, you’re going to want to give the old computer a check-up to make sure it’s in good working condition. If possible, blow it out with compressed air. Make sure all the cables are connected. Make sure it has two open PCI slots for the network cards!
Quick section about Network cards: In my experience, Intel and 3Com brand cards work best with Linux. If you already have some PCI cards, give them a try, but if you have to buy new ones (they’re not that expensive) you can get them at Newegg for about $30 each, or about $10 for the no-name brands. You can use the built-in network jack on the computer (I don’t recommend it), but you’re still going to need at least one more card. It depends on what you have available.
Assuming the computer is in working condition, the next step is to install the network cards. Don’t worry about marking which one is which, Untangle will let you determine that later. Put them in and put the computer back together, and make sure it still boots. If it does, then you’re good to go! You can also remove any sound cards or modems from the PCI slots… you won’t need those.
If it has a video card, leave it in unless you know it has (and you want to use) on-board video. A lot of video cards have tiny little cooling fans that tend to die noisy deaths, so if your computer has one of those and it also has on-board video, then I recommend pulling the video card.

On your own computer, go to Untangle.com and grab the latest install image. You’re going to want to get the 32-bit (x86) version, unless your donated computer has more than 4GB of ram. If you’re burning a CD, grab the .iso file, if you’re using a USB thumb drive, get the .img file. They have instructions on how to create bootable media with these files.
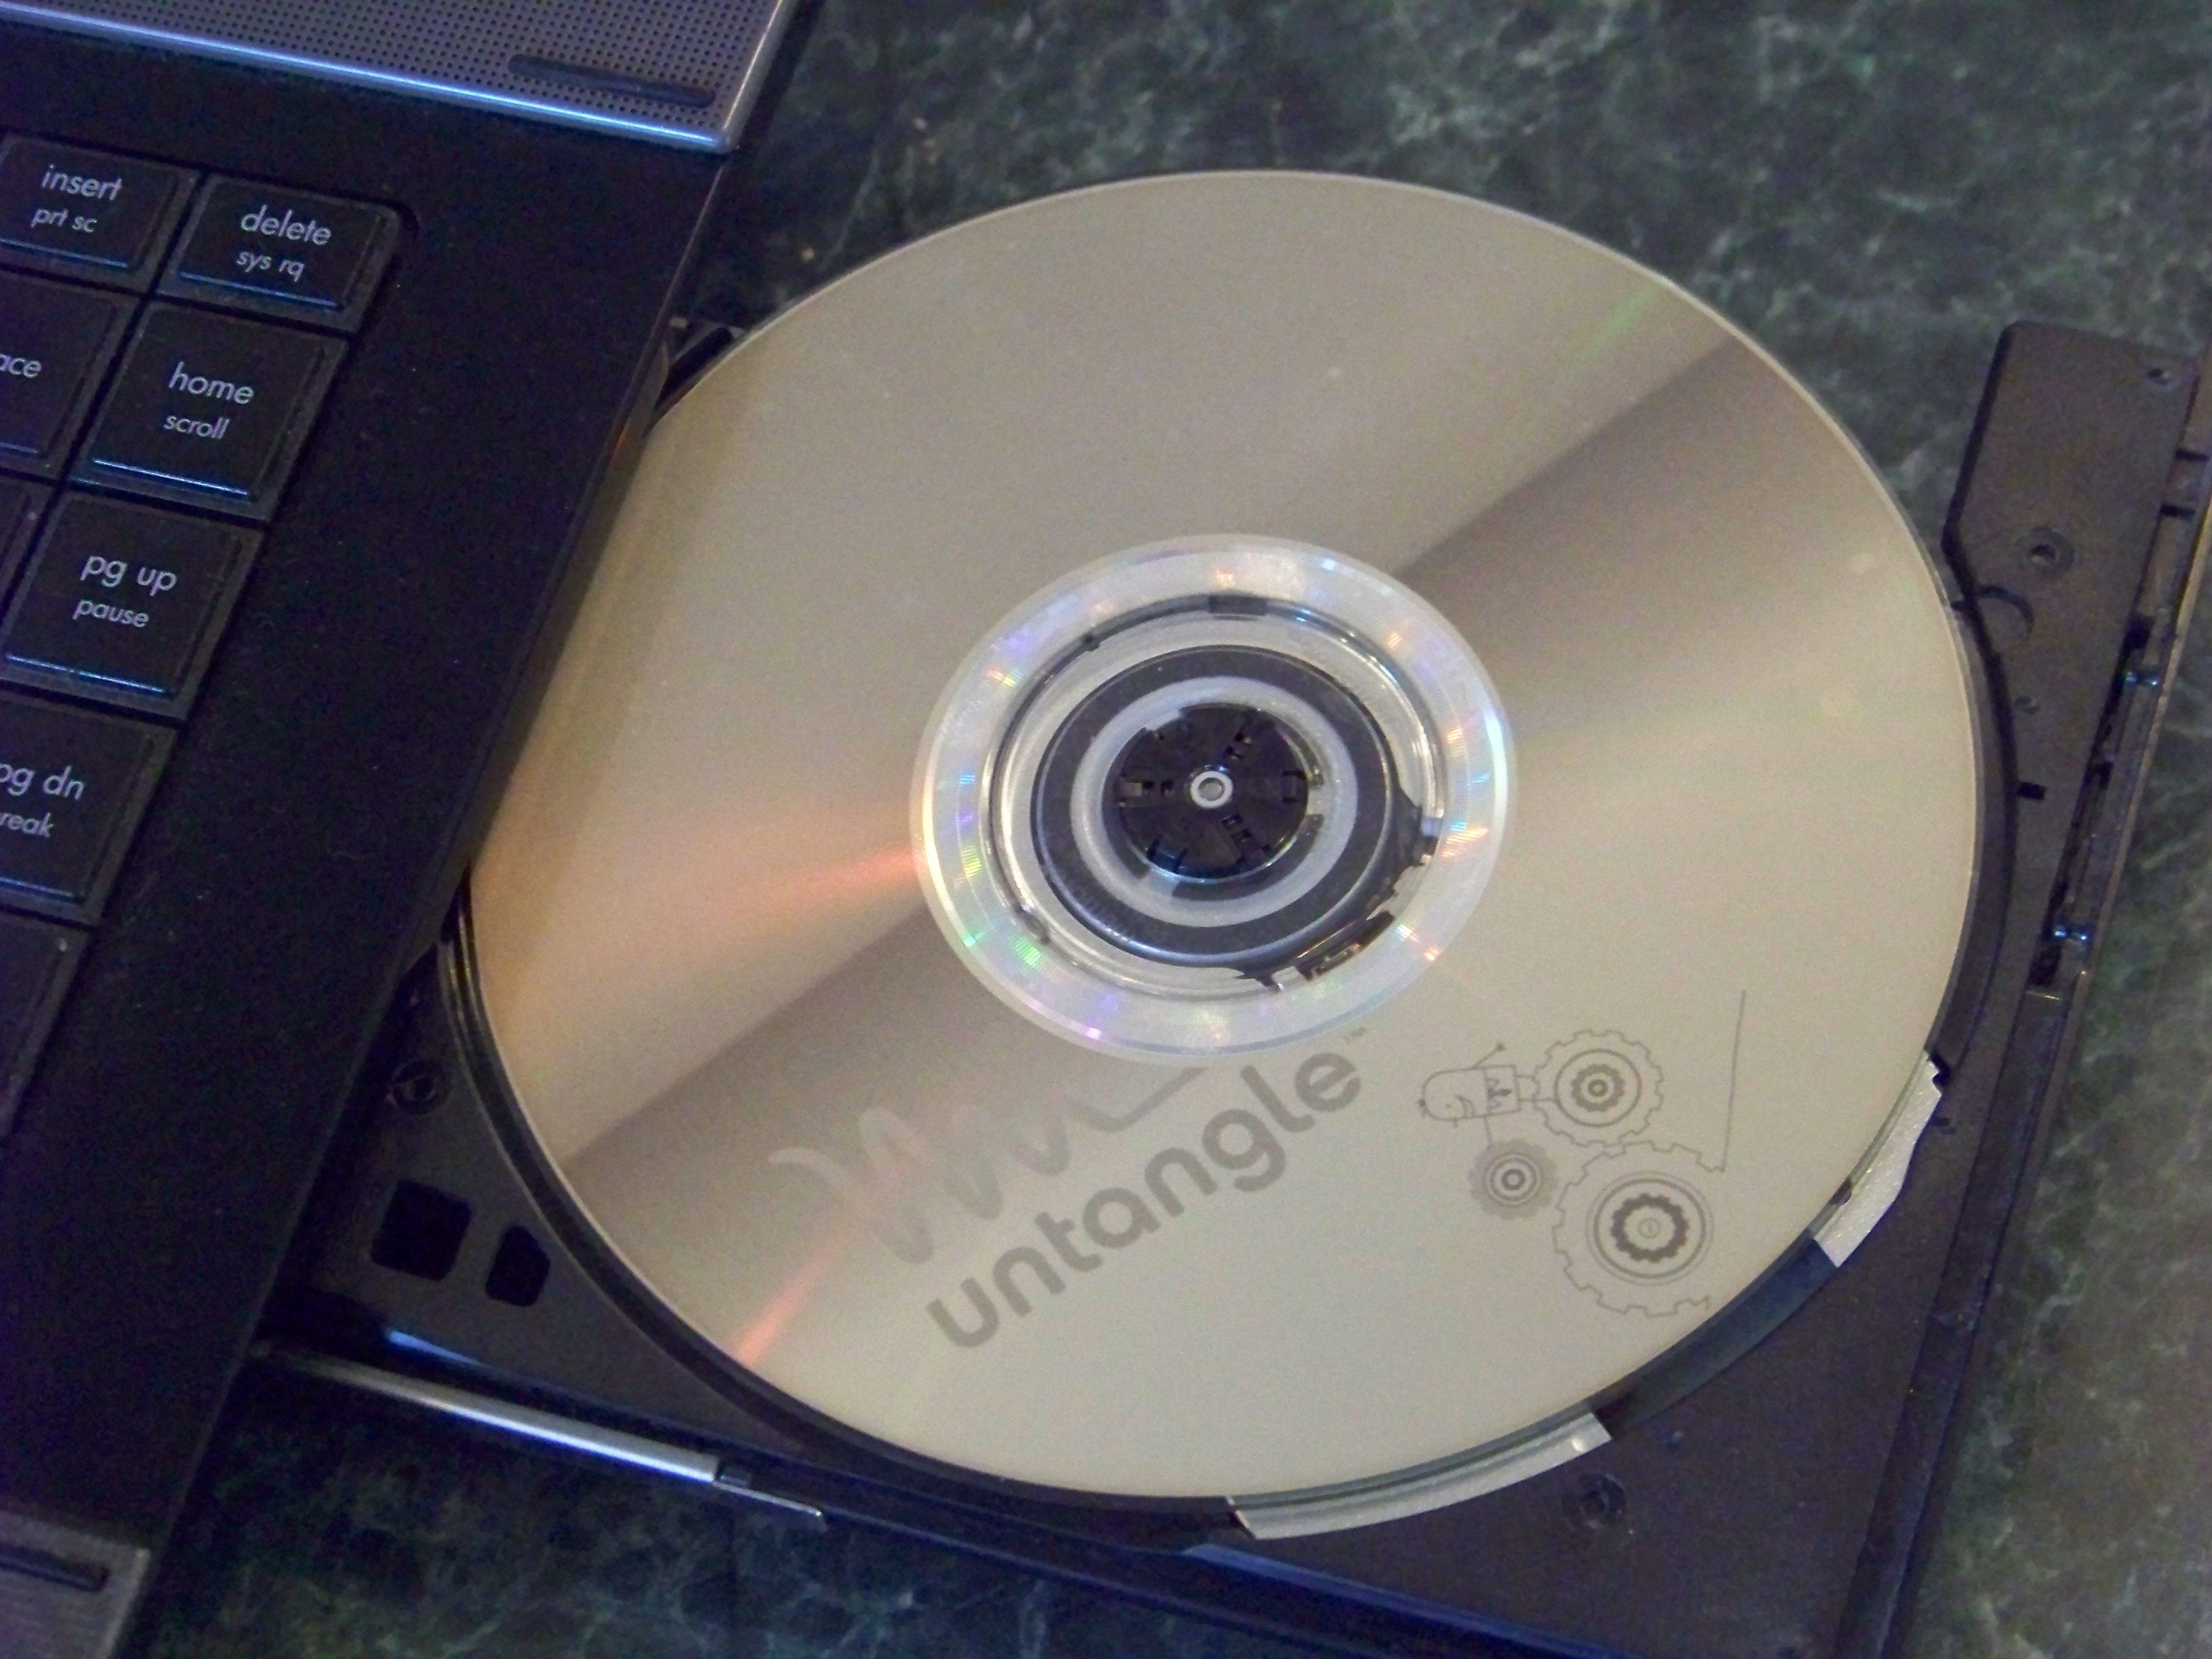
Once you’ve created your bootable media, insert it into the computer and hopefully it will boot to the Untangle install screen. If it doesn’t, you will need to go into the computer’s BIOS settings and tell it to boot from CD or USB before anything else. The screen will usually flash a quick message as it boots up (“Press Del to Enter Setup” or something similar) and you have to press that key before the message goes away. Once in BIOS, look for “Boot Options” and follow the directions to set the boot device order. Some older computers won’t boot from USB.
The Install:
You’re going to want to connect one of the network cables from the computer to your existing router (doesn’t matter which network card). Boot the computer, and hopefully you’ll see the Untangle install screen, like this:
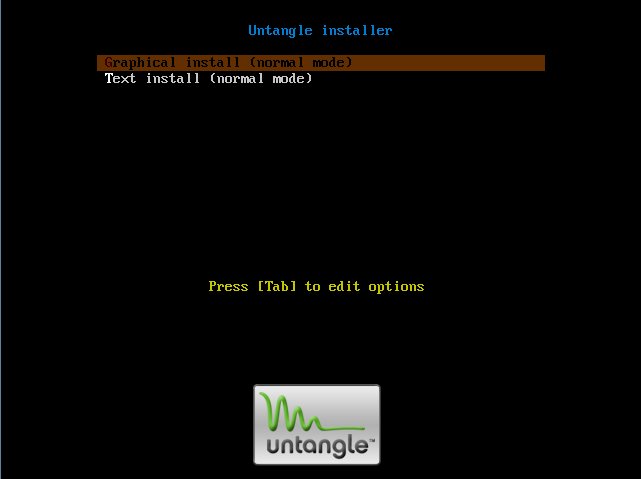
Hit Enter, and you get this:
It will ask you about keyboard layout, location, Time Zone, and all that other stuff. Just select what you want and eventually, you’ll get this:

This is the point of no return… it will erase everything on the computer’s hard drive. Take a deep breath, click Yes and then Continue. It will begin installing the system, which will take anywhere from ten to thirty minutes. When it’s done, you’ll see this:

Click Continue and the computer will eject the CD and reboot. After a couple of minutes, it will hopefully start the desktop and begin the Setup Wizard. This is the same Setup Wizard you can get to through the management page, so even if you mess up the network config, you can run this again to fix it! (I’m telling you, Untangle makes it easy!)
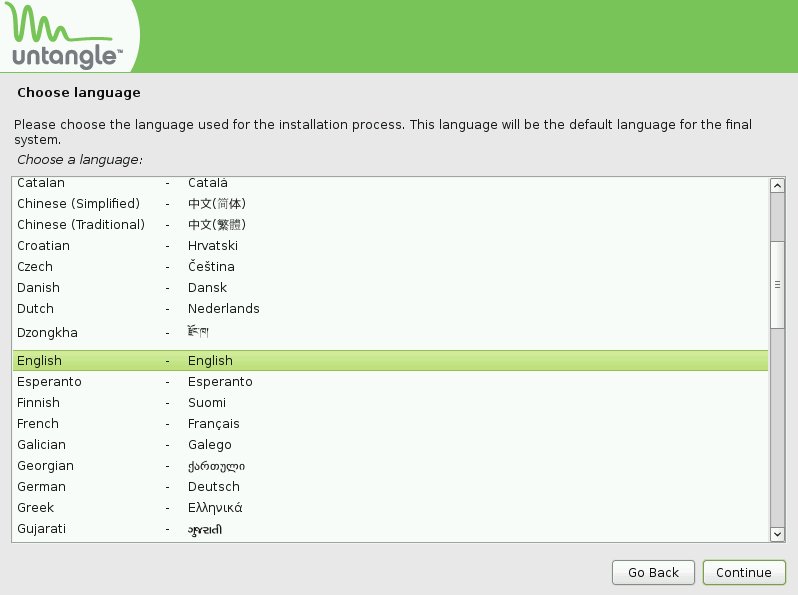
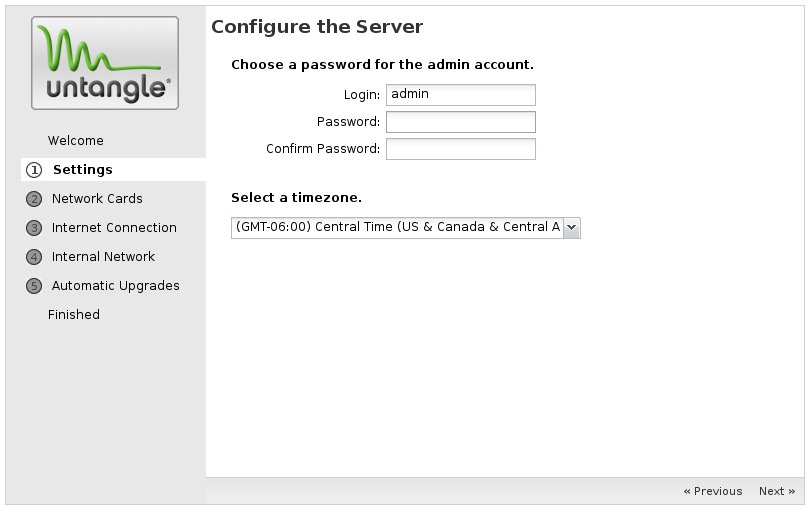
Select your language, and click Next to get started. You’ll need to set an admin password:
And then you’ll see the Network Card setup:
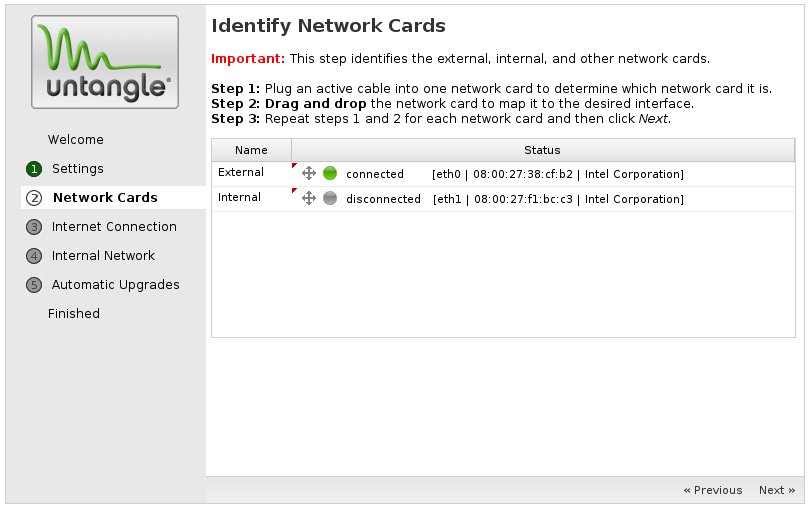
If you have two different brand cards, you’ll see it here. If you have two of the same, it will show (in real time) which ones are plugged in, so you can tell which one is which. In my practice, I mark the “External” card with red Sharpie (cause the outside is dangerous! lol) and the “Internal” card I mark with green Sharpie. You can also have more than two cards, if you want to control more than one physical network. Once that’s done, you need to configure them:
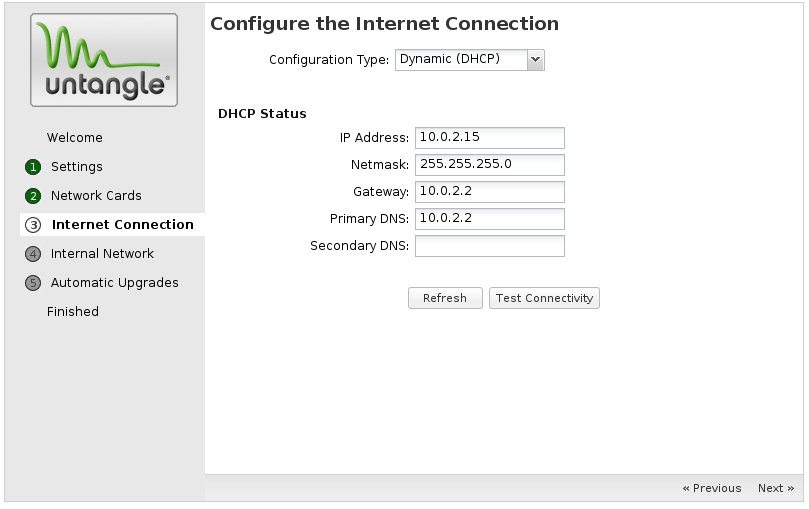
Your “External” card is what connects to your router. Unless you’re using this machine as a main firewall on a static IP domain (which you can do, but that’s for another time) you’re going to want to leave it set to “Dynamic (DHCP)”. All this means is that your router is going to assign it an address, which regardless of the next step, should work fine. Most routers are set to use addresses starting with “192.168.0” so if it shows that, it’s normal. Next, we’re going to decide the main configuration for the filter (and this is the hardest part).

It gives you the option of “Router” or “Bridge” and the main difference is a Router does Network Address Translation, which means it has its own network separate from the outside world. (If you choose Router mode, you should probably leave DHCP server enabled, unless you know you have a DHCP server computer already on your network.) The other option, Transparent Bridge, doesn’t assign network addresses or anything… it simply filters incoming traffic and passes it on, without changing the destination addresses. If you plan on using this computer as a firewall/router for your whole network, then use Router mode. If your network is already working fine and you’re just adding this computer in to filter stuff, then Bridge mode will work. It will work fine either way, and you can change it later if you change your network.
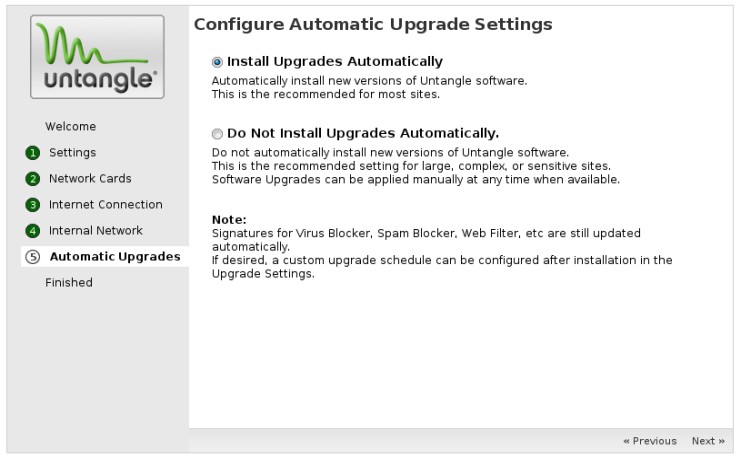
Next, it will ask if you want to get system updates automatically. Select “Install Updates Automatically” and click Next. On the next screen, click again to finish it, and then you’ll be presented with the Rack which is where you’ll do all the actual filter configuration.
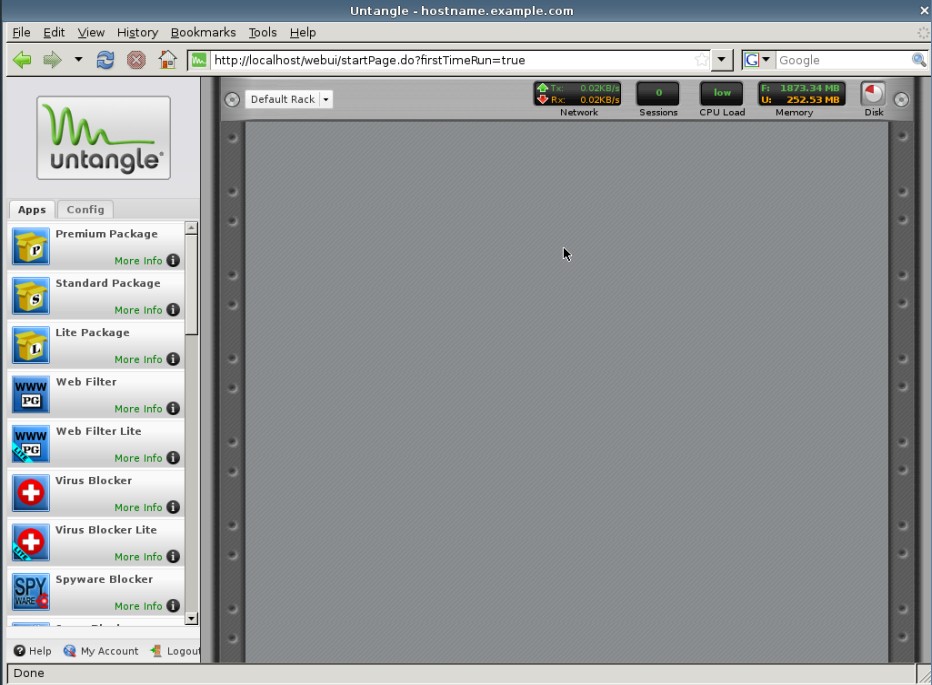
The first thing in the rack you’ll see is a “Recommended Package” page. You can use the small “x” at the right of it to close that (don’t close the whole browser!) and then you will see an empty rack as such:
We’re almost there!
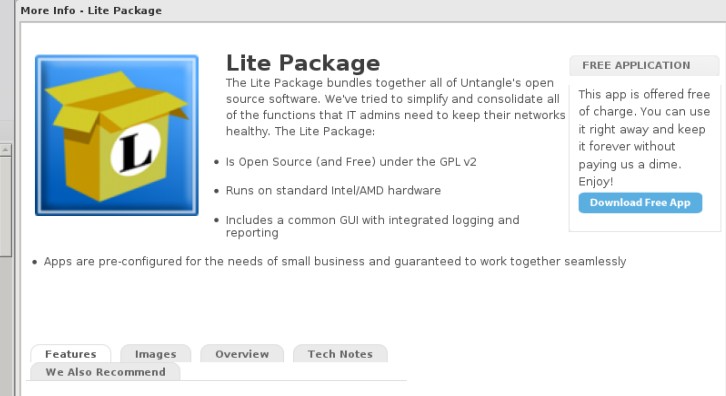
Unless you have special needs, you can install the “Lite Package” and it will fill 90% of people’s needs. If you want advanced features, you can always buy and add them later. Even if you use the free package, you will need to create a free account at Untangle.com so click on the Lite Package, and you’ll see this:
When you click “Download Free App” it will bring you to a login page:
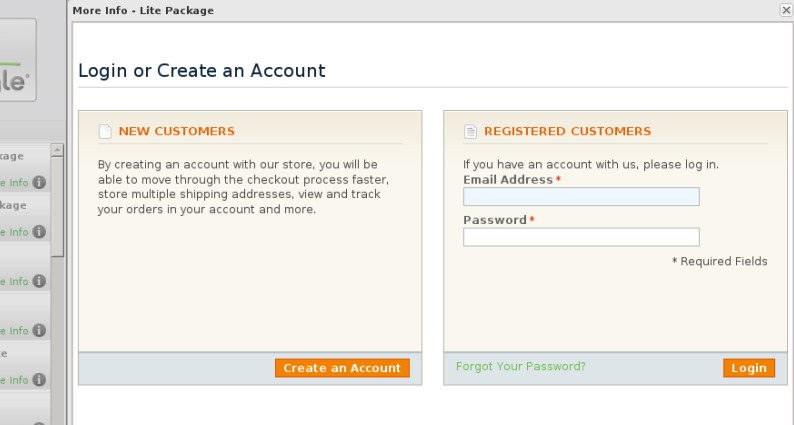
Click “Create an Account” and it will bring you to the Untangle site, where you can do the deed. Once that’s done, it will bring you back to the Lite Package page, and clicking “Download Free App” will (finally) automatically download and install it.
After that, you have a working firewall system! You can read through the documentation and enable whatever features you want, including access restriction, filtering, and login acknowledgement pages.