
Music/guitar nerd alert.
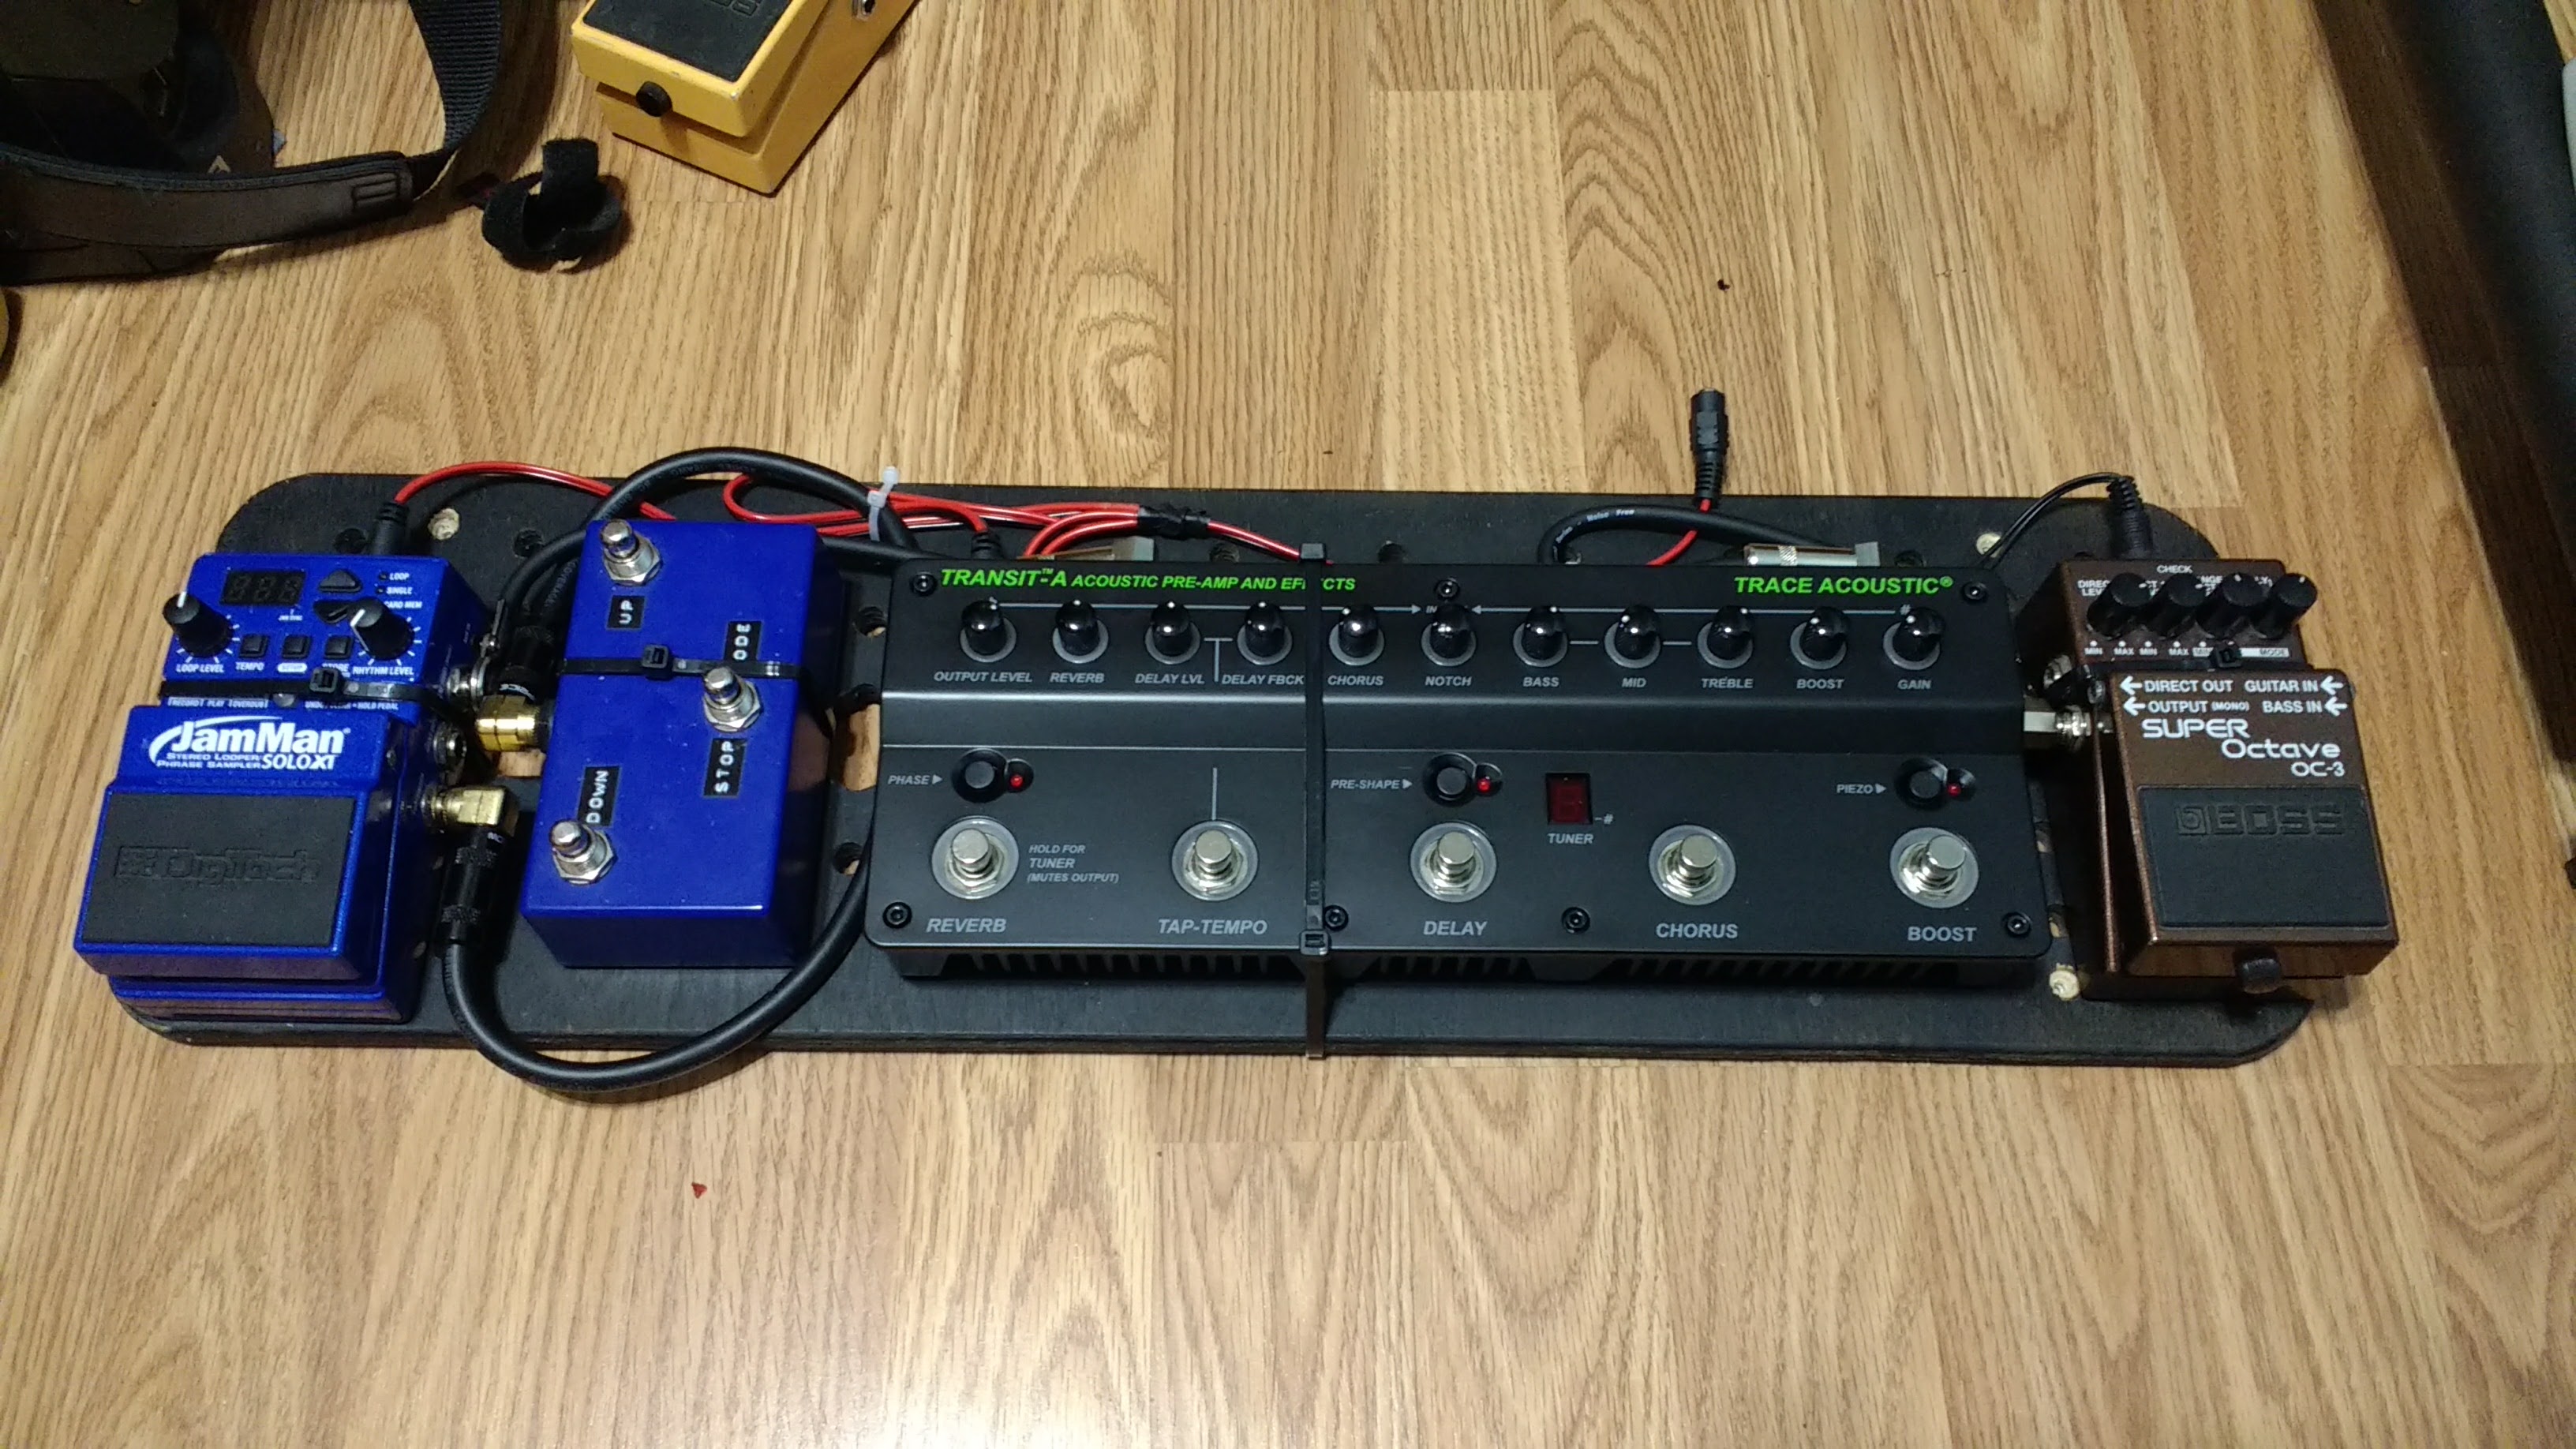
I rebuilt my guitar pedalboard a while back, and one of the things I added was a DigiTech Jamman Solo XT pedal, with a homemade 3-button remote switch.
The DigiTech Jamman Solo is a solid little looping pedal- it records input and plays it back, like a looping tape recorder. There are plenty of looping pedals out there, but I picked the Jamman for a specific reason: it has a 32 GB micro-SD card you can store about 10 hours of .wav files on.
I saw someone was using one to play ambient backing pads for a church service, and it got me thinking. I’ve been spending a lot of time researching software (like Ableton Live) that can seamlessly play backing tracks on command, including the ability to move back and forth between sections in a song, and transitions.
I immediately thought “why couldn’t I do that with the Jamman?”
So I did a little experiment.
Normally, you’d use the pedal to record a loop, then overdub it while it plays back. And the pedal can store multiple loops, synced to a clock, and switch easily between them. (When the current playing loop finishes, it automatically plays the next selected one.)
Now, the only way to get a loop into the Jamman is to record it through the inputs- you can’t just simply drag a .wav file into it, because it also stores things like the loop’s BPM, number of measures, and other settings, which are unique per loop.
But what if I figured out how to cut a song up, recorded empty tracks those lengths/speeds, and then overwrite just the audio? If I cut up the song on the beats in a DAW, would that make the transitions seamless?
Spoiler alert: I tried it, and it works perfectly.
Here’s how I did it:
- Find a backing track to a song you want to play.
- Load it up into a DAW (a free one like Ardour works great).
- Figure out what bpm (beats per minute) the song is. For worship music, you can usually look it up on Multitracks.com.
- Align the song’s audio so that it matches up with the metronome click in your DAW. (Make sure the downbeat is correct too.)
- Cut up your song into whatever sections you want: chorus, verse, ending, etc. You want each section to be its own audio file, but cut exactly on the beat. It’s important to have the DAW set to “snap to grid” so your cuts are exactly on the beat lines.
- Write down how many measures each section is.
- On the Jamman, select an empty loop (memory location), and using the menu, set the loop’s BPM to whatever the song is.
- Record a blank loop, the same length (number of measures) as your first section. (Press the main footswitch to start/stop recording.) Try to get it as close to the end of the last measure as you can, but it doesn’t have to be perfect. The Jamman will make sure it ends exactly on the beat if you have BPM already set.
- SAVE THE LOOP. Make sure it stops flashing before moving on.
- Go the the next empty loop, set the BPM, and record a blank loop the same length as your second section.
- SAVE THE LOOP.
- Repeat steps 10 & 11 for any other sections.
- Unplug the Jamman and remove the MicroSD card. Insert the card in your computer (using an adapter) and open it in your file manager.
- There will be a folder for each loop you recorded. In each one, there are files with the loop’s settings- bpm, and so forth- and a .wav file. Overwrite the blank .wav files with the ones you exported from your DAW (in 44.1Khz 16-bit format- this is CD quality). Each .wav should be the same size as the one you overwrite if you made them the right length.
- Remove the MicroSD card from the computer and put it back into the Jamman.
- The loops will still be like they were before, but the blank audio will be replaced with whatever you copied over it.
Of course, there will be those of you who are smart, and realize “You still need a DAW program to cut these songs up!” Yes, but free ones work just fine for that, like Ardour, Garage Band, or anything that you can set a BPM in and snap to a grid.
There’s plenty of other things that Ableton Live can do that the Jamman can’t do- like MIDI control, individual track mixing, and such. But there’s a lot the Jamman CAN do, including stretching loops without changing pitch, seamless transitions, non-linear track playback, and more. But the Standard version of Ableton Live is currently selling for $450, and it requires a newer laptop and an audio interface and a foot controller. Even if you get the $100 “lite” version, you still need the gear to run it on. A new Jamman Solo XT with a homemade aux switch cost me less than $150.
Really, considering what it can do and what it costs, the choice is simple: I don’t need Ableton Live to perform solo gigs when the Digitech Jamman Solo XT works just as well.